A chair joint
A loose chair rung is one of the quickest repairs in the house. It fails twice because the old glue was never properly removed the first time.
Why the glue fails, and why it fails again
Wood joints in chairs — the mortise-and-tenon and dowel joints that hold rungs, legs and back rails together — rely on two things: a clean mating surface and a snug fit, with the glue able to spread and bond. Old hide glue, which most pre-1970s chairs were built with, is a protein-based adhesive that dries rigid and holds well under compression. When a joint works loose — usually because the wood has dried and shrunk a fraction over years of use and heating — hide glue doesn't stretch; it cracks away from one surface and the joint begins to rock.
The instinct is to inject new glue into the gap and clamp. Sometimes it even holds for a few months. But then it fails again, and the second failure is faster than the first. The reason is simple: new adhesive cannot bond to old, dried adhesive. It bonds to glue instead of to wood, and glue-to-glue is a weak joint. The repair was never in contact with the actual timber.
Doing it properly
Pull the joint apart completely. If it moves at all, it can come out; on a rocker or a Windsor-style chair with multiple rungs, you may need to disassemble more joints than seem necessary, because they are interdependent. Work methodically, keeping note of what goes where — a phone photograph of the chair from several angles before you start takes thirty seconds and removes all guesswork.
With the tenon (the protruding peg) and the mortise (the socket) separated, clean both surfaces back to bare wood. This is the step that decides whether the repair lasts. Old hide glue is water-soluble when warmed, which is one of its great virtues: a cotton bud or small cloth dampened with warm water, worked repeatedly into the socket, will soften and lift the residue. Give it time. Scrape gently with a wooden skewer or a flat toothpick — nothing metal, because scratching the socket wider will create a loose fit. On the tenon, the same process: warm water, patience, a light scrape. When dry, both surfaces should feel like bare timber, not smooth and slightly shiny.
Check the fit dry before you glue anything. The tenon should slide into the mortise with hand pressure and feel snug — not rattling, not requiring a mallet. A joint that was once tight and has only dried and shrunk will usually fit well once the old glue is out. If the tenon has worn or the mortise has widened, you have a slightly different problem: wrap the tenon with a single layer of fine cotton thread before gluing, which adds enough volume to take up the gap without packing the joint unevenly.
Fresh hide glue, available in pearl or liquid form, is the traditional choice and the right one for a chair that may need repairing again in another fifty years, because it remains reversible. It also creeps slightly under clamp pressure, filling the joint evenly. PVA woodworking adhesive is a reasonable alternative and easier to source; it bonds well to bare wood, is rigid when set, and is water-resistant enough for indoor furniture. Apply the glue to both surfaces, push the joint home, and wipe away any squeeze-out immediately with a damp cloth — dried PVA is not pleasant to remove from a finish.
When dry, both surfaces should feel like bare timber, not smooth and slightly shiny.
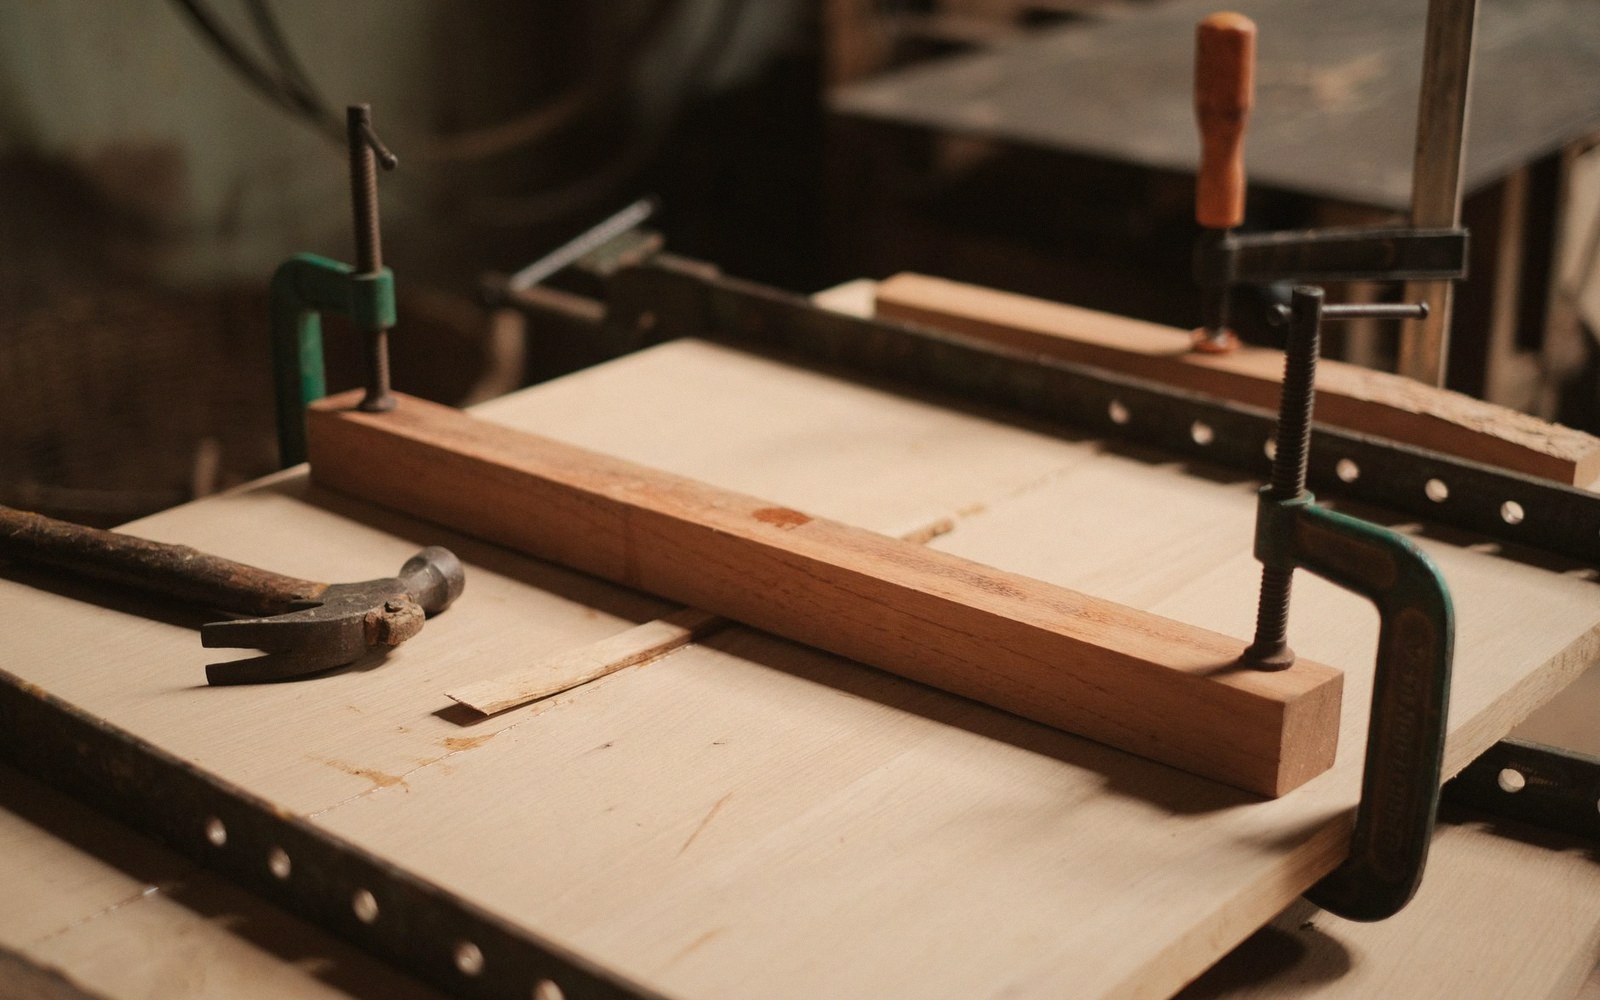
Clamp across the joint, not along it. Hose clamps or a length of inner tube wrapped around the chair and twisted with a stick — a tourniquet clamp — will pull rail-to-leg joints tight without needing specialist equipment. Leave it overnight. The joint needs to be still while the adhesive cures.
A well-glued chair joint, properly cleaned and properly clamped, will outlast a new one. The wood at that point has compressed and fitted itself over years of use; you are working with a precision fit, not against one.