A dripping tap
Turn off the water before you open anything. The rest is patience and the right washer.
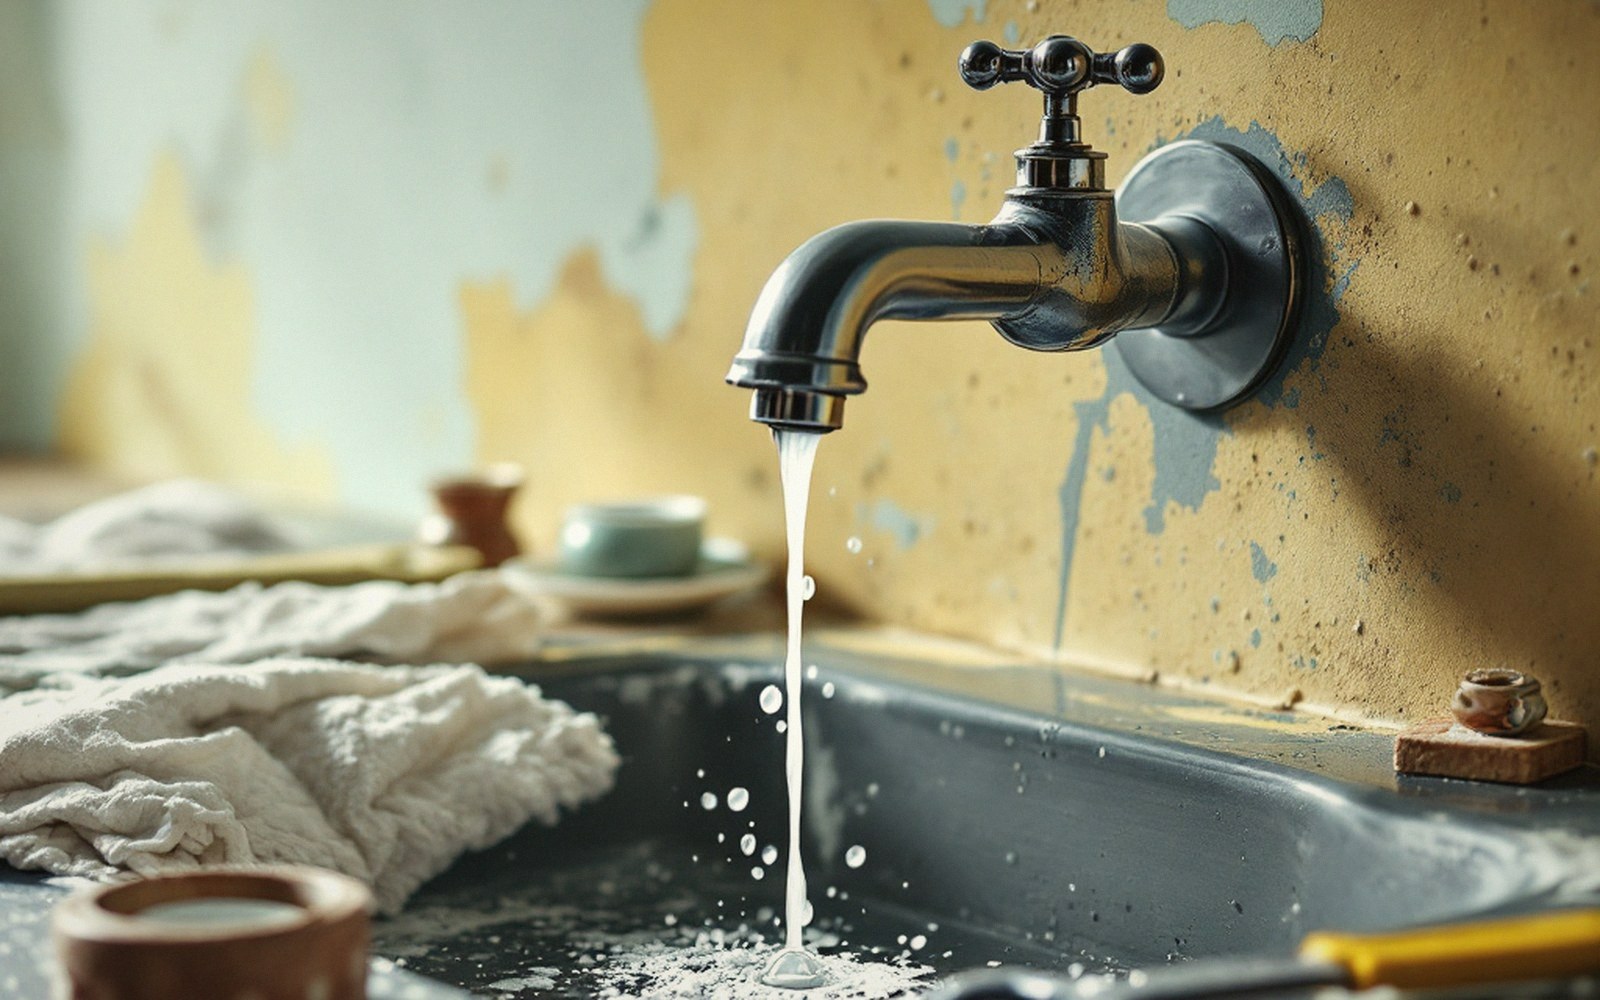
The repair
A tap drips because a rubber washer has worn flat, split or hardened with age and no longer seals against the brass seat inside the tap body. This is one of the few domestic plumbing jobs that stays firmly on the right side of the safety line: no joints, no pipework, no soldering. A spanner, a screwdriver, the water off at the isolator or at the mains stopcock, and you are most of the way there.
You will now see the tap headgear, a hexagonal brass nut that holds the whole mechanism.
Find the isolation point first. Most modern taps have a slotted isolator valve on the supply pipe beneath the sink — turn the slot a quarter-turn so it runs across the pipe, not along it. Older houses may need you to go to the mains stopcock, usually under the kitchen sink or where the supply enters the house. Turn on the tap to drain the remaining water from the pipe. Nothing should flow within a few seconds; if it keeps running, the valve is not fully closed.

With the water off, prise away the decorative cap on the tap handle — it is usually a push-fit cover over a screw — and undo the cross-head or slot-head screw beneath. Lift off the handle. You will now see the tap headgear, a hexagonal brass nut that holds the whole mechanism. Use an adjustable spanner, ideally with a cloth between the jaws and the nut to protect the chrome. Turn anticlockwise. The headgear will lift out as a unit, and the washer sits at the very bottom of it, held by a small nut or simply pressed into a recess.
The washer itself is a cheap, standardised part. Take the old one to a hardware shop — they almost all stock the common sizes, typically ½ inch or ¾ inch — or bring the whole headgear if you are unsure. Seat the new washer, reassemble in reverse order, and hand-tighten the headgear before giving it a firm half-turn with the spanner. Do not overtighten: you are sealing rubber, not compressing steel.
Open the isolator valve or turn the stopcock back on slowly. Check the joint around the headgear before you refit the handle; a drip here means the packing — the thread just above the headgear nut — has also worn and may need replacing or rewrapping with PTFE tape. Most of the time there is nothing. Close the tap, and the drip is gone.