Sealing and resealing
The bead around a bath is a consumable. When it goes, you replace it — the job takes an afternoon and the only skill is patience.
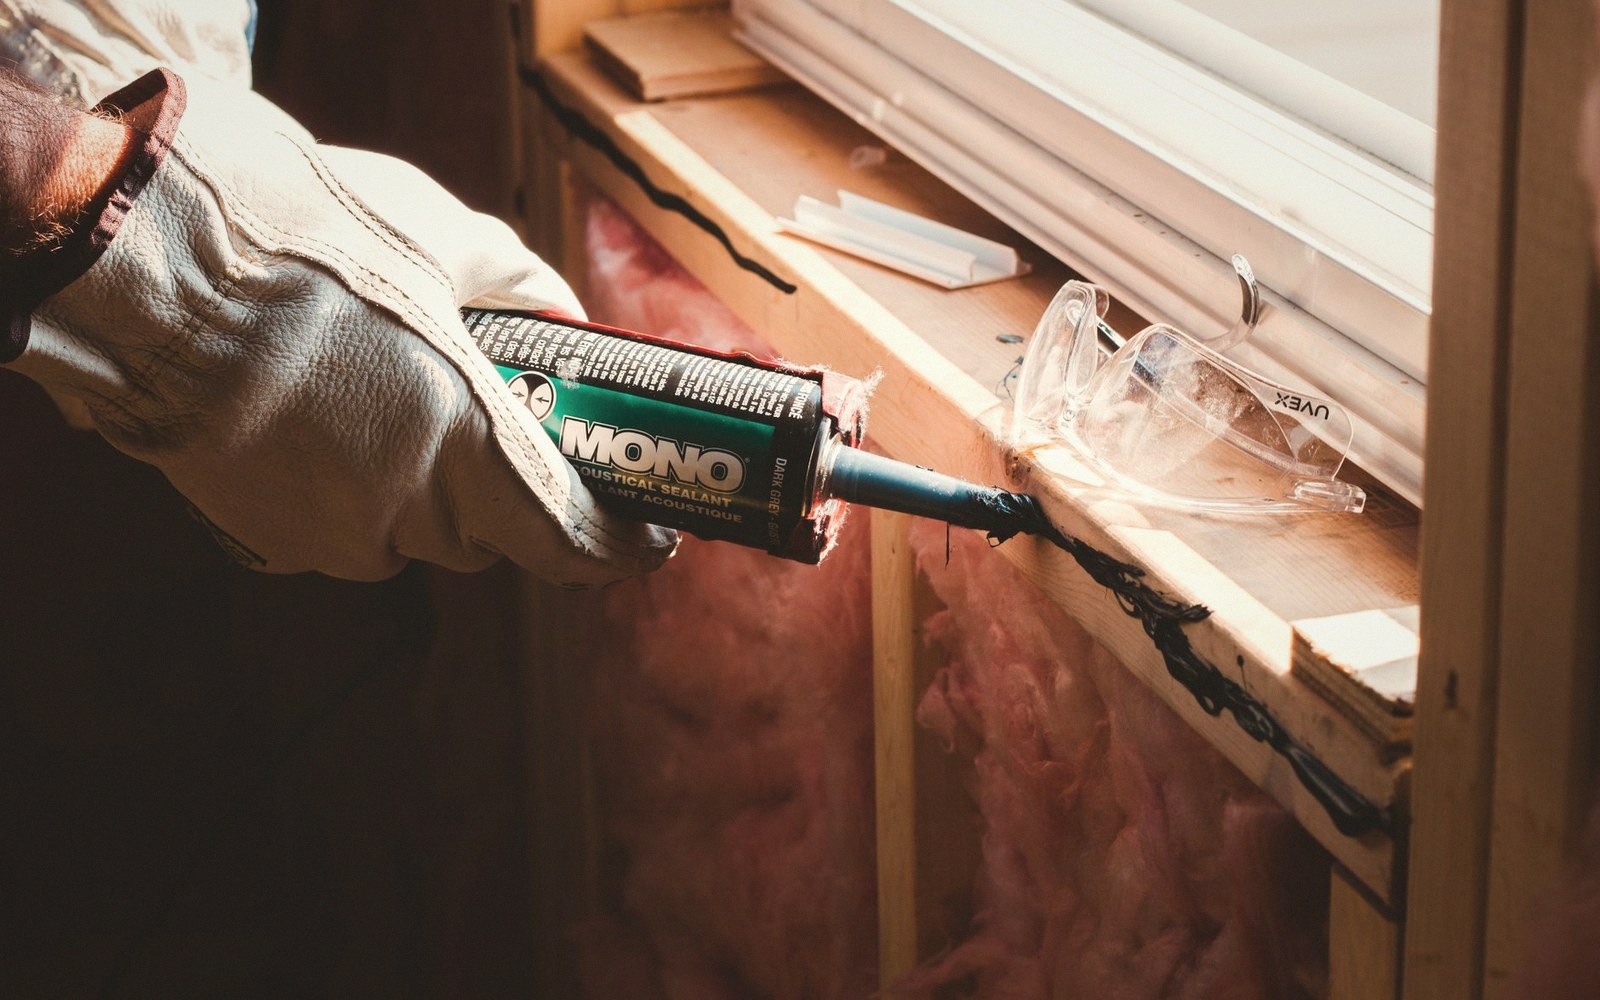
Why the old stuff has to come out completely
Silicone sealant does not bond reliably to old silicone. This is the single fact that drives every resealing job: there is no shortcut. Squeezing a fresh bead on top of a failing one is a month's work at most, after which you are pulling both off in one peeling strip and starting over.
The removal is the job. Work along the bead with a Stanley knife or a dedicated sealant-removal tool — a hooked plastic blade that undercuts without scratching the tub or the tiles. Score the outer face, the inner face, then lever the bead away in sections. What remains on the enamel or acrylic and on the tile or wall surface is a thin film of old sealant and, usually, mould that has worked in behind. That film must come off. A sealant remover fluid (applied with a rag and left to soften the residue) followed by methodical scrubbing with a non-scratch pad handles most of it. Then wash the whole joint with a mild sugar-soap solution and let it dry — properly, not just surface-dry. Give it an hour at least. Give it more if the room is cool.
The new bead
Before you open the cartridge, fill the bath. The tub will drop fractionally under the weight of water, and if you seal the joint empty it will crack the first time someone gets in. This is widely ignored and explains a great many early failures.
Cut the cartridge nozzle at a shallow angle — roughly 45 degrees — and as close to the tip as you can manage while still producing a bead the width of the joint. Narrower is better; a huge bead looks sloppy and takes longer to skin over. Load the gun, push the nozzle firmly into the corner and draw it steadily along in one pass per run. Speed matters less than pressure: keep it even.

Smooth the bead immediately with a wetted finger or a sealant finishing tool, using a single stroke per section. Do not go back and forth — you are just moving the problem. Mask the joint with painter's tape before you gun if your lines are shaky; peel the tape before the silicone skins.
This is the single fact that drives every resealing job: there is no shortcut.
Drain the bath only once the sealant is fully cured — check the product instructions, but 24 hours is the usual minimum.