Cutting in
The line between wall and ceiling makes or breaks a painted room. Tape helps less than you think.
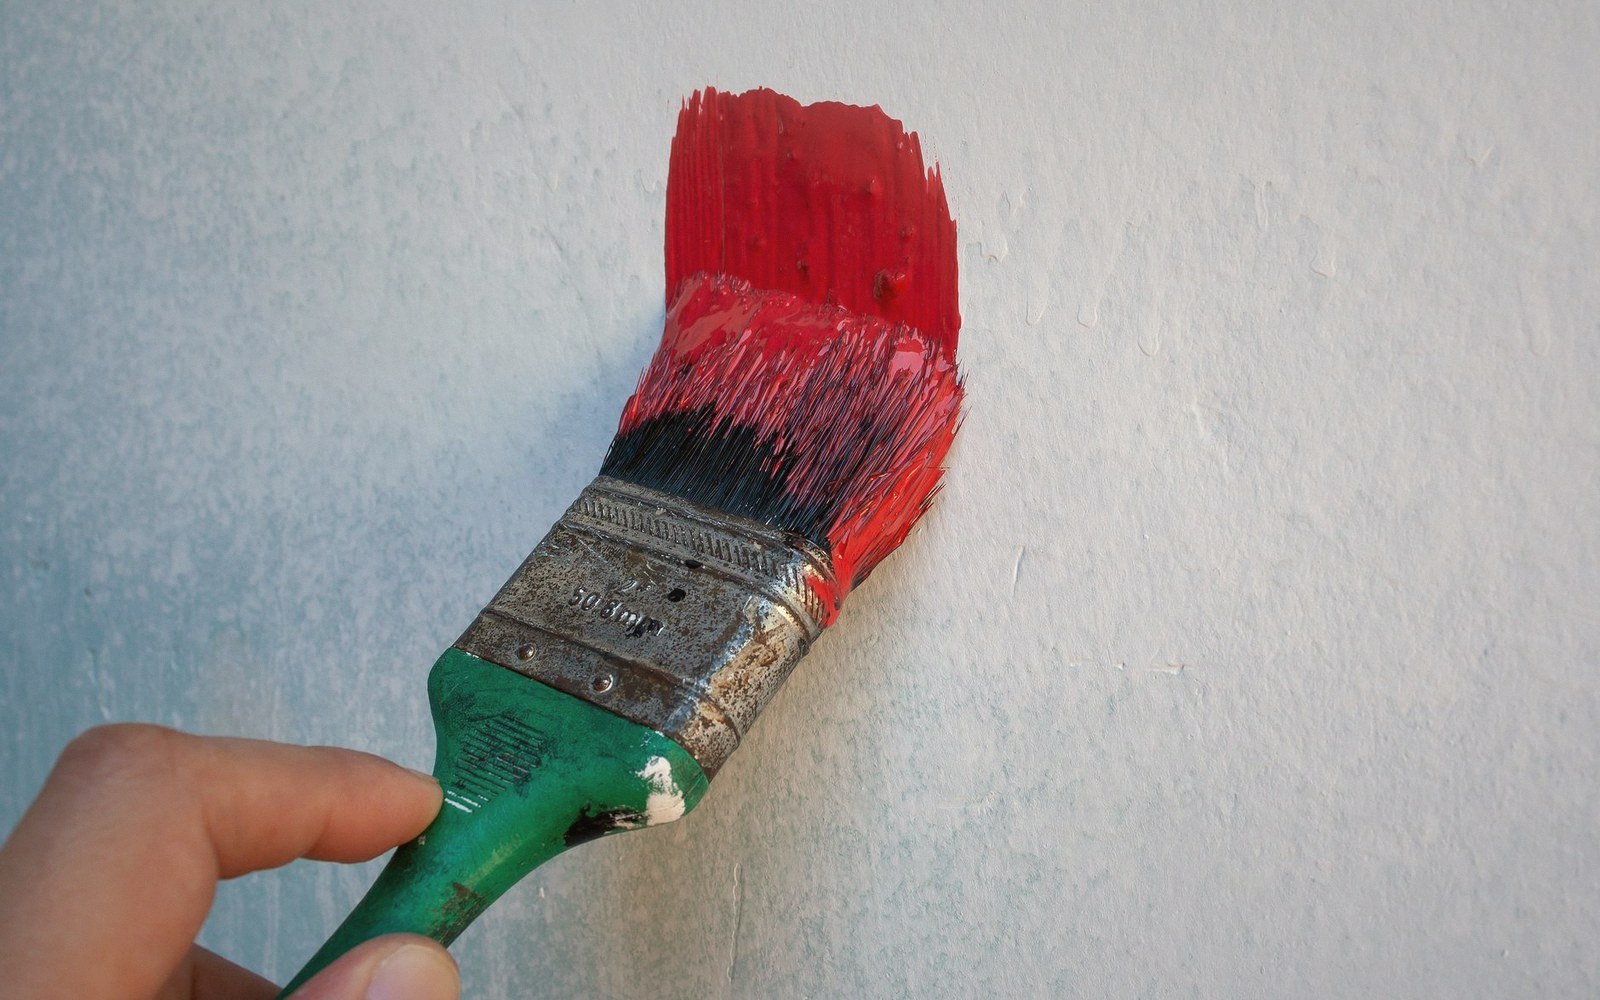
The case against tape
Painter's tape feels like insurance. You press it along the ceiling line, paint confidently up to it, peel it away — and half the time find a ragged edge, bleed-under, or a strip of ceiling paint pulled off with the tape. The tape didn't fail exactly; you did, by treating it as a substitute for control rather than a supplement to it.
For cutting in along a ceiling — that clean, straight border where wall colour meets white — a steady brush and a deliberate pace will serve you better than tape on almost every wall. Tape is genuinely useful at a skirting board where you want to protect a floor finish, or on a window architrave with awkward angles. Along a flat ceiling line, it adds prep time, increases the risk of bleed, and can damage a ceiling that's been painted with flat emulsion, which is most ceilings. Learn to cut in freehand and you become faster and more accurate with every room.
How to actually do it
The tool is a cutting-in brush: an angled sash brush, typically 50 to 65 mm wide, with bristles cut at a slant. The angle lets you see the tip of the brush clearly while it works. Spend the money on a decent one — not because of brand loyalty but because cheap bristles splay, lose shape and deposit hairs in your paint. A good brush, cleaned properly after every use, lasts years.
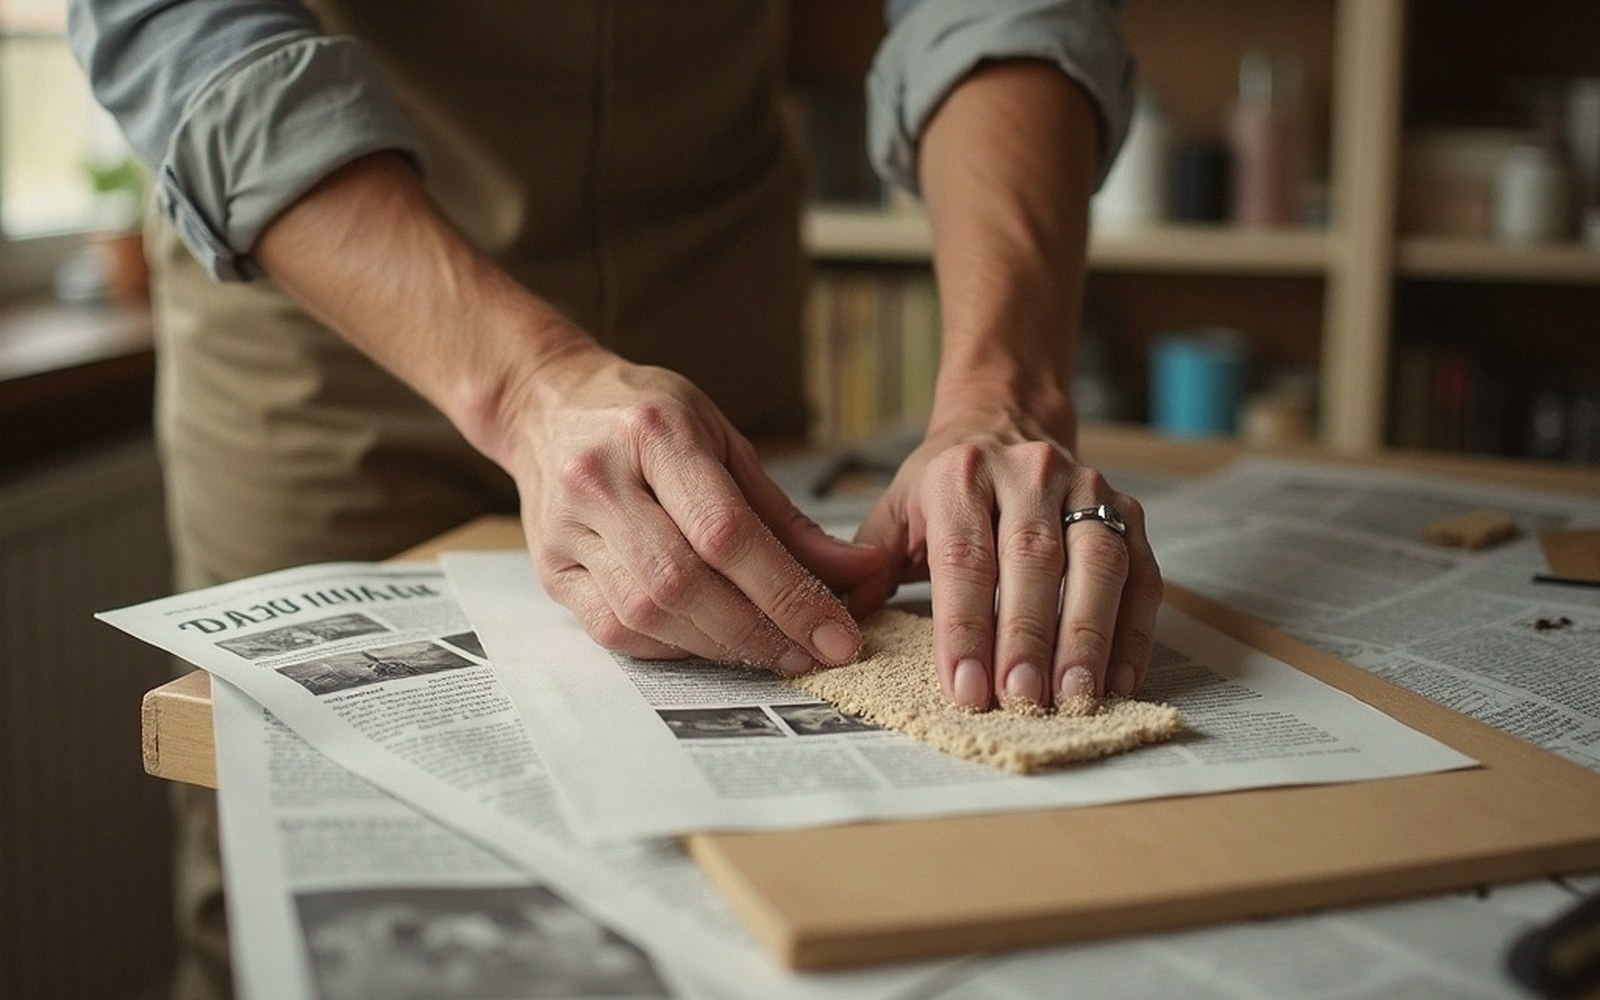
Load the brush moderately — dip about a third of the bristle length, tap (don't wipe) both sides lightly against the rim of the tin to remove the drip, then work. Hold the brush like a pen, not a trowel: the handle back in the palm, your index finger along the ferrule for guidance. The control comes from your finger and wrist, not your whole arm.
Start your stroke about a centimetre below the ceiling line, then ease up toward it as you draw along. Don't creep nervously millimetre by millimetre — a confident stroke in one fluid movement produces a straighter line than ten hesitant ones. Your eye should be tracking just ahead of the brush tip, not staring at the bristles themselves. You are steering toward a point, not watching where you are.
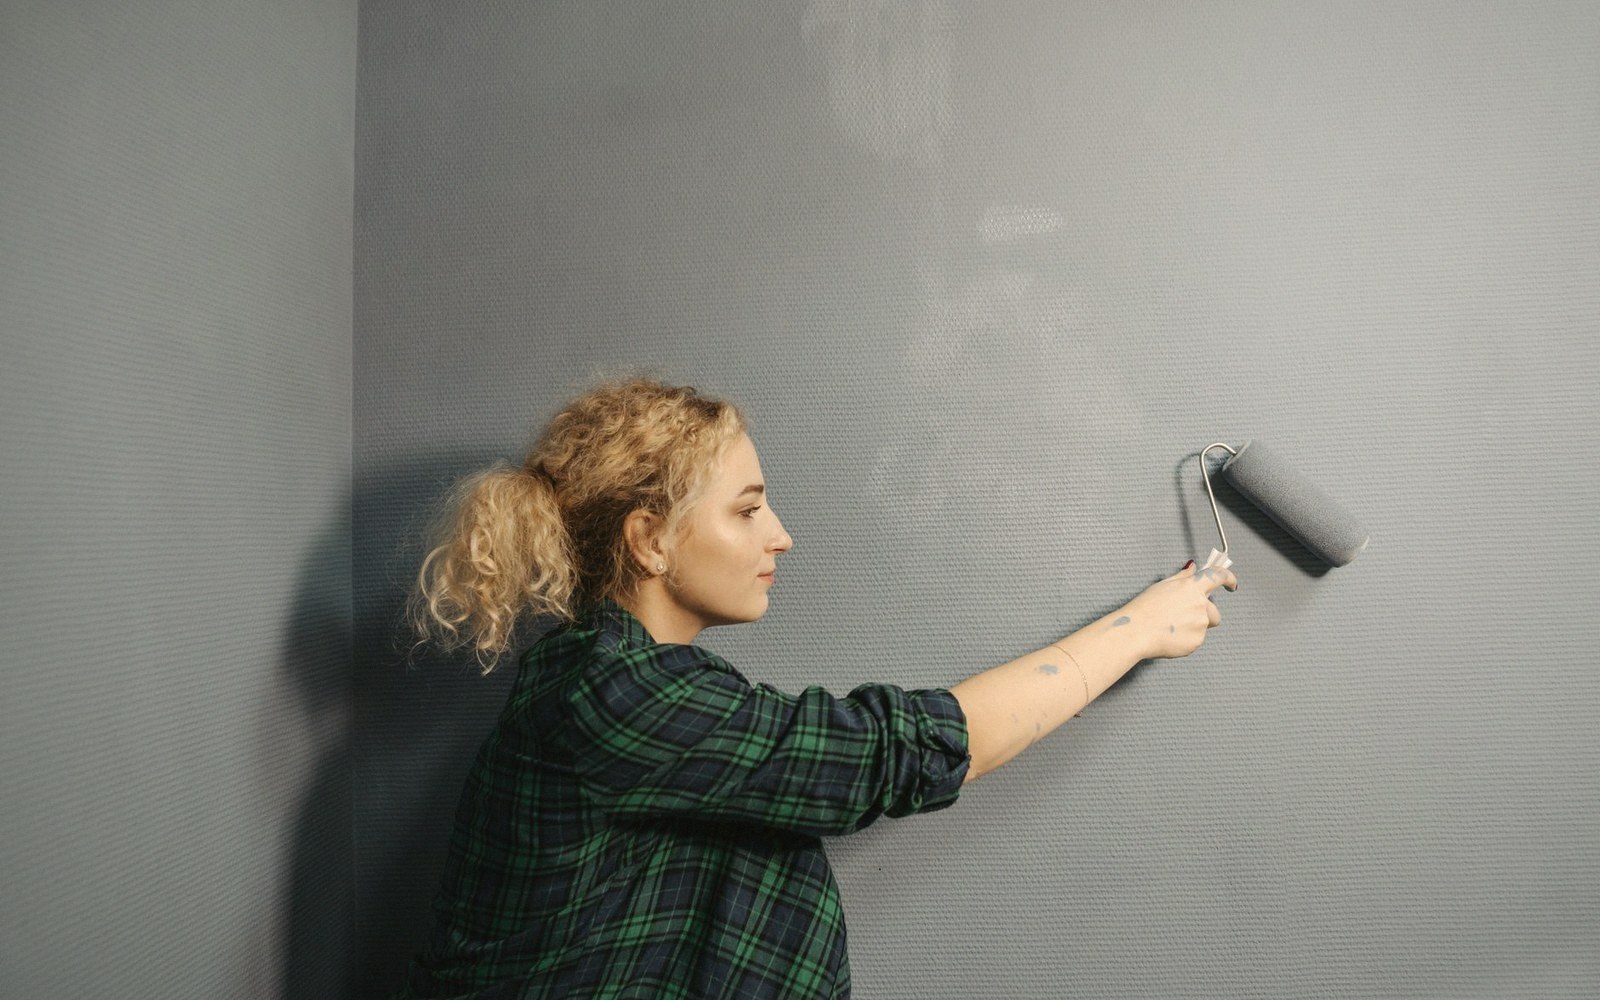
Keep strokes short enough that the paint stays wet at the end of them — roughly 30 to 40 centimetres per pass. Work along the ceiling line first, then run a second pass below it, blending back into the wall area where the roller will take over. This wet edge is important: preparation matters here too, because if the surface beneath has dust, grease or a different sheen, no amount of careful brush technique will produce a clean result.
Where it goes wrong, and why
The most common failure is a wobbly line caused by the brush loading unevenly. If you see the line wander, you either had too much paint at the start of the stroke and too little at the end, or the brush is cheap enough that the bristle tip is inconsistent. Reload more often than you think necessary.
The most common failure is a wobbly line caused by the brush loading unevenly.
The second failure is working tired. Cutting in is the part of the job that demands attention — it should happen first, while you're fresh, not at the end when you've been rolling for two hours. Do the ceiling line in a room before you do anything else.
Finally, light. You need raking light along the wall to see where your edge actually is. Paint under a bare bulb directly overhead and you'll miss lines entirely. Where the light actually falls in the room will deceive you; bring a work lamp and hold it low and angled while you cut in, so shadows expose every irregularity before the paint dries.
One coat of cutting in rarely covers; expect two. On the second pass you correct rather than create — touch the lines that wandered, smooth the edges that feathered. By the end of the second coat, if you've worked steadily and reloaded consistently, the line between wall and ceiling should need no tape, no apology and no explanation.